In 2008 I wanted to personalize my Ducati’s dry clutch cover. After looking in the stores I was really disappointed with how expensive the off-the-shelf open clutch covers were, they go for over $200 typically. So I thought to myself, why not just buy a damaged or scratched up clutch cover off of eBay for next to nothing, and build my own?? And build it WAY cooler. With the money left over I could buy a spiffy looking clutch pressure plate.
Ducati dry clutch covers have two layers: an inner steel layer, encased inside of an outer aluminum layer. They are very thin. Therefore if you want to make any 3D sculpted effects, this might be difficult to do.
REQUIRED TOOLS:
- A rotary tool such as a Dremel tool or Black & Decker rotary tool
with polishing kit
, cutting wheels, grinding wheels.
- A drill
and drill bits
.
- Small nails
- A scrap piece of wood to nail the cover to
- A spare, or cheaply purchased damaged clutch cover from eBay
- Black automotive spray paint like this
- Automotive clear coat
- Masking tape
- Hammer
- Pencil
- Paper and scissors and computer with a paint program, free ones like “Inkscape” or “Gimp” would work.
PROCEDURE:
1. After buying a cheap used clutch cover, trace out some patterns with your pencil, or use a stencil printed from your computer. I was concerned with rain dripping into the open clutch and rusting out the internal components, so my pattern ideas all had the skull tops solid to block the rain. I also wanted the clutch spring caps to line up with the eye holes. Originally I was thinking of using this sketch:
But I realized that with the thin aluminum and steel layers, to create any depth to the cheek bones and forehead of the skull would be very difficult to get it to look right, so I decided on the Punisher logo. The reason is that the punisher logo is very simple to trace and looks cool.
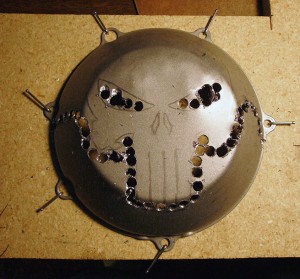
2. After penciling in your sketch, nail it to a board and begin roughing out the material that is to get removed, using a drill and a large bit. Plan out how much material you want to remove ahead of time. Open clutch covers don’t need all of the bolt holes in tact so don’t worry about removing some of those.
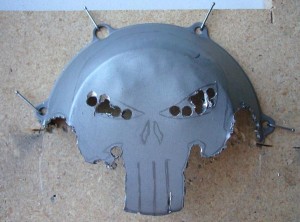
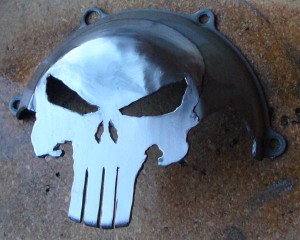
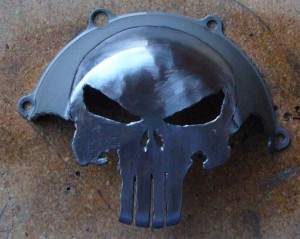
3. Now that the overall shape is roughed out, use a rotary tool and cutting wheels and grinding tools to get the outline accurate and smooth. Also I wanted the skull to be shiny just for the shape of the skull, so I used the polishing wheels to remove the grey anodized surface and polishing wheels to make the surface very shiny. I immediately sprayed on some clear coat, because Aluminum tends to oxidize and loose its luster in air quite quickly without protection. I removed the nails.
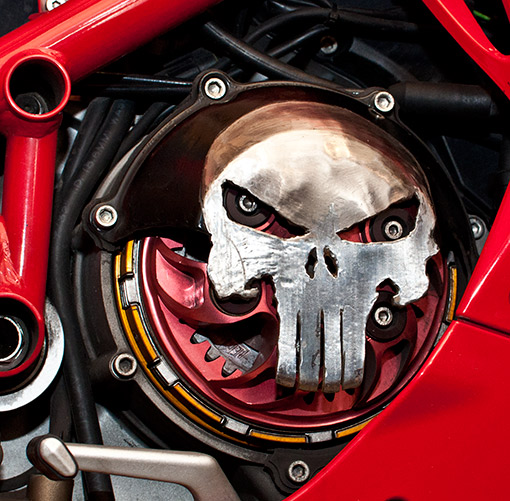
4. I stopped here and put it onto my bike, and contemplated keeping it this way, as shown below (click for larger image):
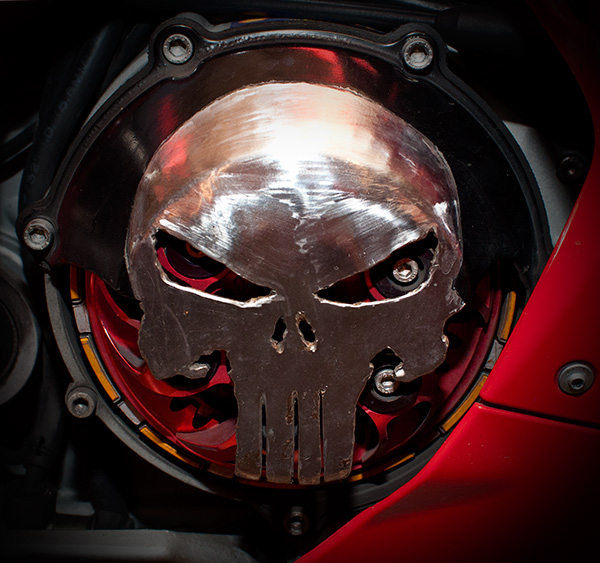
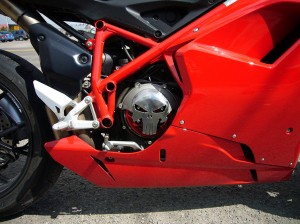
However, I was not satisfied and thought that painting the top black would look better. So I took it off again and used masking tape and the black automotive paint and gave it a few coats of black paint. I then gave the entire thing 3 coats of clear coat as final protection. Here is the end results:
(click below for larger image)
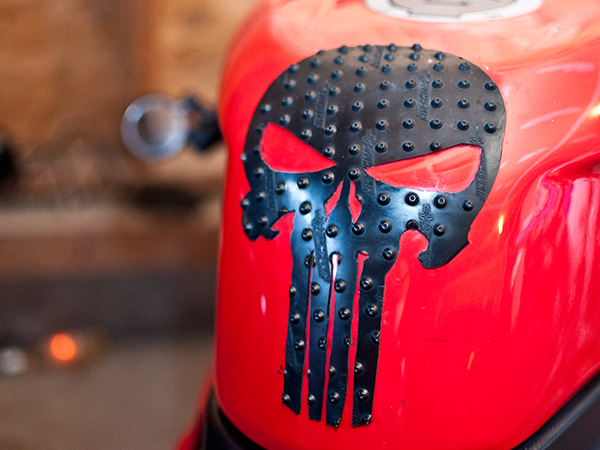
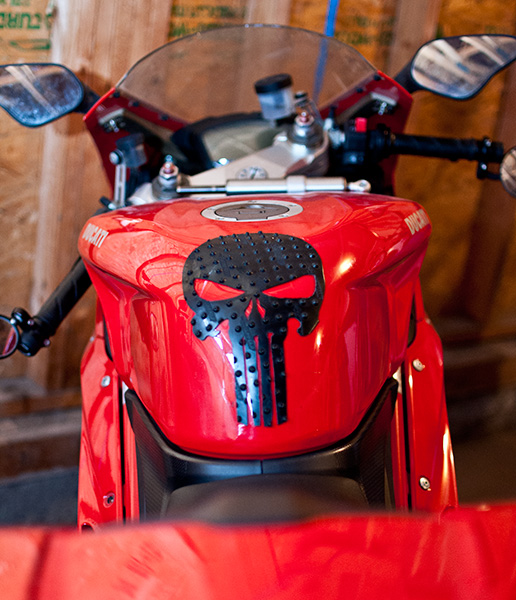
I also thought it would be neat to continue the theme and make a Punisher tank protector. I simply purchased some Stomp Grip material as cheaply as I could find it, and again made a scale paper pattern, and traced that pattern over the stomp grip with some chalk or something that marks black rubber and can be easily seen, and cut out the pattern with a box cutter and scissors. Here’s the end result:
People ask me if things like your pants and laces may get caught in the open clutch? I wear floppy pants and boots with long laces, and after riding with this cover for about 30,000 km, I have not had a single instance of getting anything caught inside of the clutch.





this is cool!
By coincidence I happen to be selling this punisher clutch cover! If anyone wants to make me an offer please contact me. :) I’m selling the Ducati unfortunately and the punisher cover is going to be sold seprately…
Did u sell cover yet.. If not hit me up Id buy it..
wespsmail@gmail.com
Permalink